Why Choose DaVinci Resolve for Video Editing?
Speaking from experience, the first step is always the hardest. You might be filled with self-doubt or even struggle with perfectionism. To make that first step as simple and easy as possible, i’ve put together this guide in a clear, straightforward way—just how I would personally find it most helpful. Before we jump into editing your first video, let’s talk about why we’re using DaVinci Resolve and why it’s such a great choice—especially for beginners like us who are just getting started.
There are plenty of video editing software options out there, but DaVinci Resolve stands out for a few key reasons:
- It’s Free & Powerful – Unlike other editing software that requires expensive subscriptions, DaVinci Resolve offers a professional-level toolset completely free. This makes it perfect for beginners who don’t want to invest money upfront.
- Beginner-Friendly, Yet Advanced – While it has powerful tools used by Hollywood, it also has an intuitive layout that makes it easy to grasp basic editing skills before diving into more advanced techniques.
- All-in-One Editing Suite – You can edit videos, add effects, improve audio, and color-grade all in one place—meaning you won’t need multiple programs.
- Industry-Level Tools at No Cost – Other free editors often come with watermarks or limitations, but DaVinci Resolve gives you access to pro features like multi-cam editing and high-quality color correction without those drawbacks.
Now that we know why we’re using DaVinci Resolve, let’s dive into actually editing your first video!
Step 1: Setting Up Your DaVinci Resolve Project
Download & Install DaVinci Resolve
If you haven’t already, download DaVinci Resolve from the official Blackmagic Design website where you can download this program for free. The free version is packed with everything you need to edit high-quality videos.
Once installed, open the program and create a new project by clicking the File button on the top left corner of the program, a window will pop up as New Project, name the new project, and hit Create.


Understanding the Interface
When you open DaVinci Resolve, you’ll see different tabs at the bottom. Here’s a quick breakdown:

- Media – Where you import your raw footage.
- Cut – A simplified editing interface for quick edits.
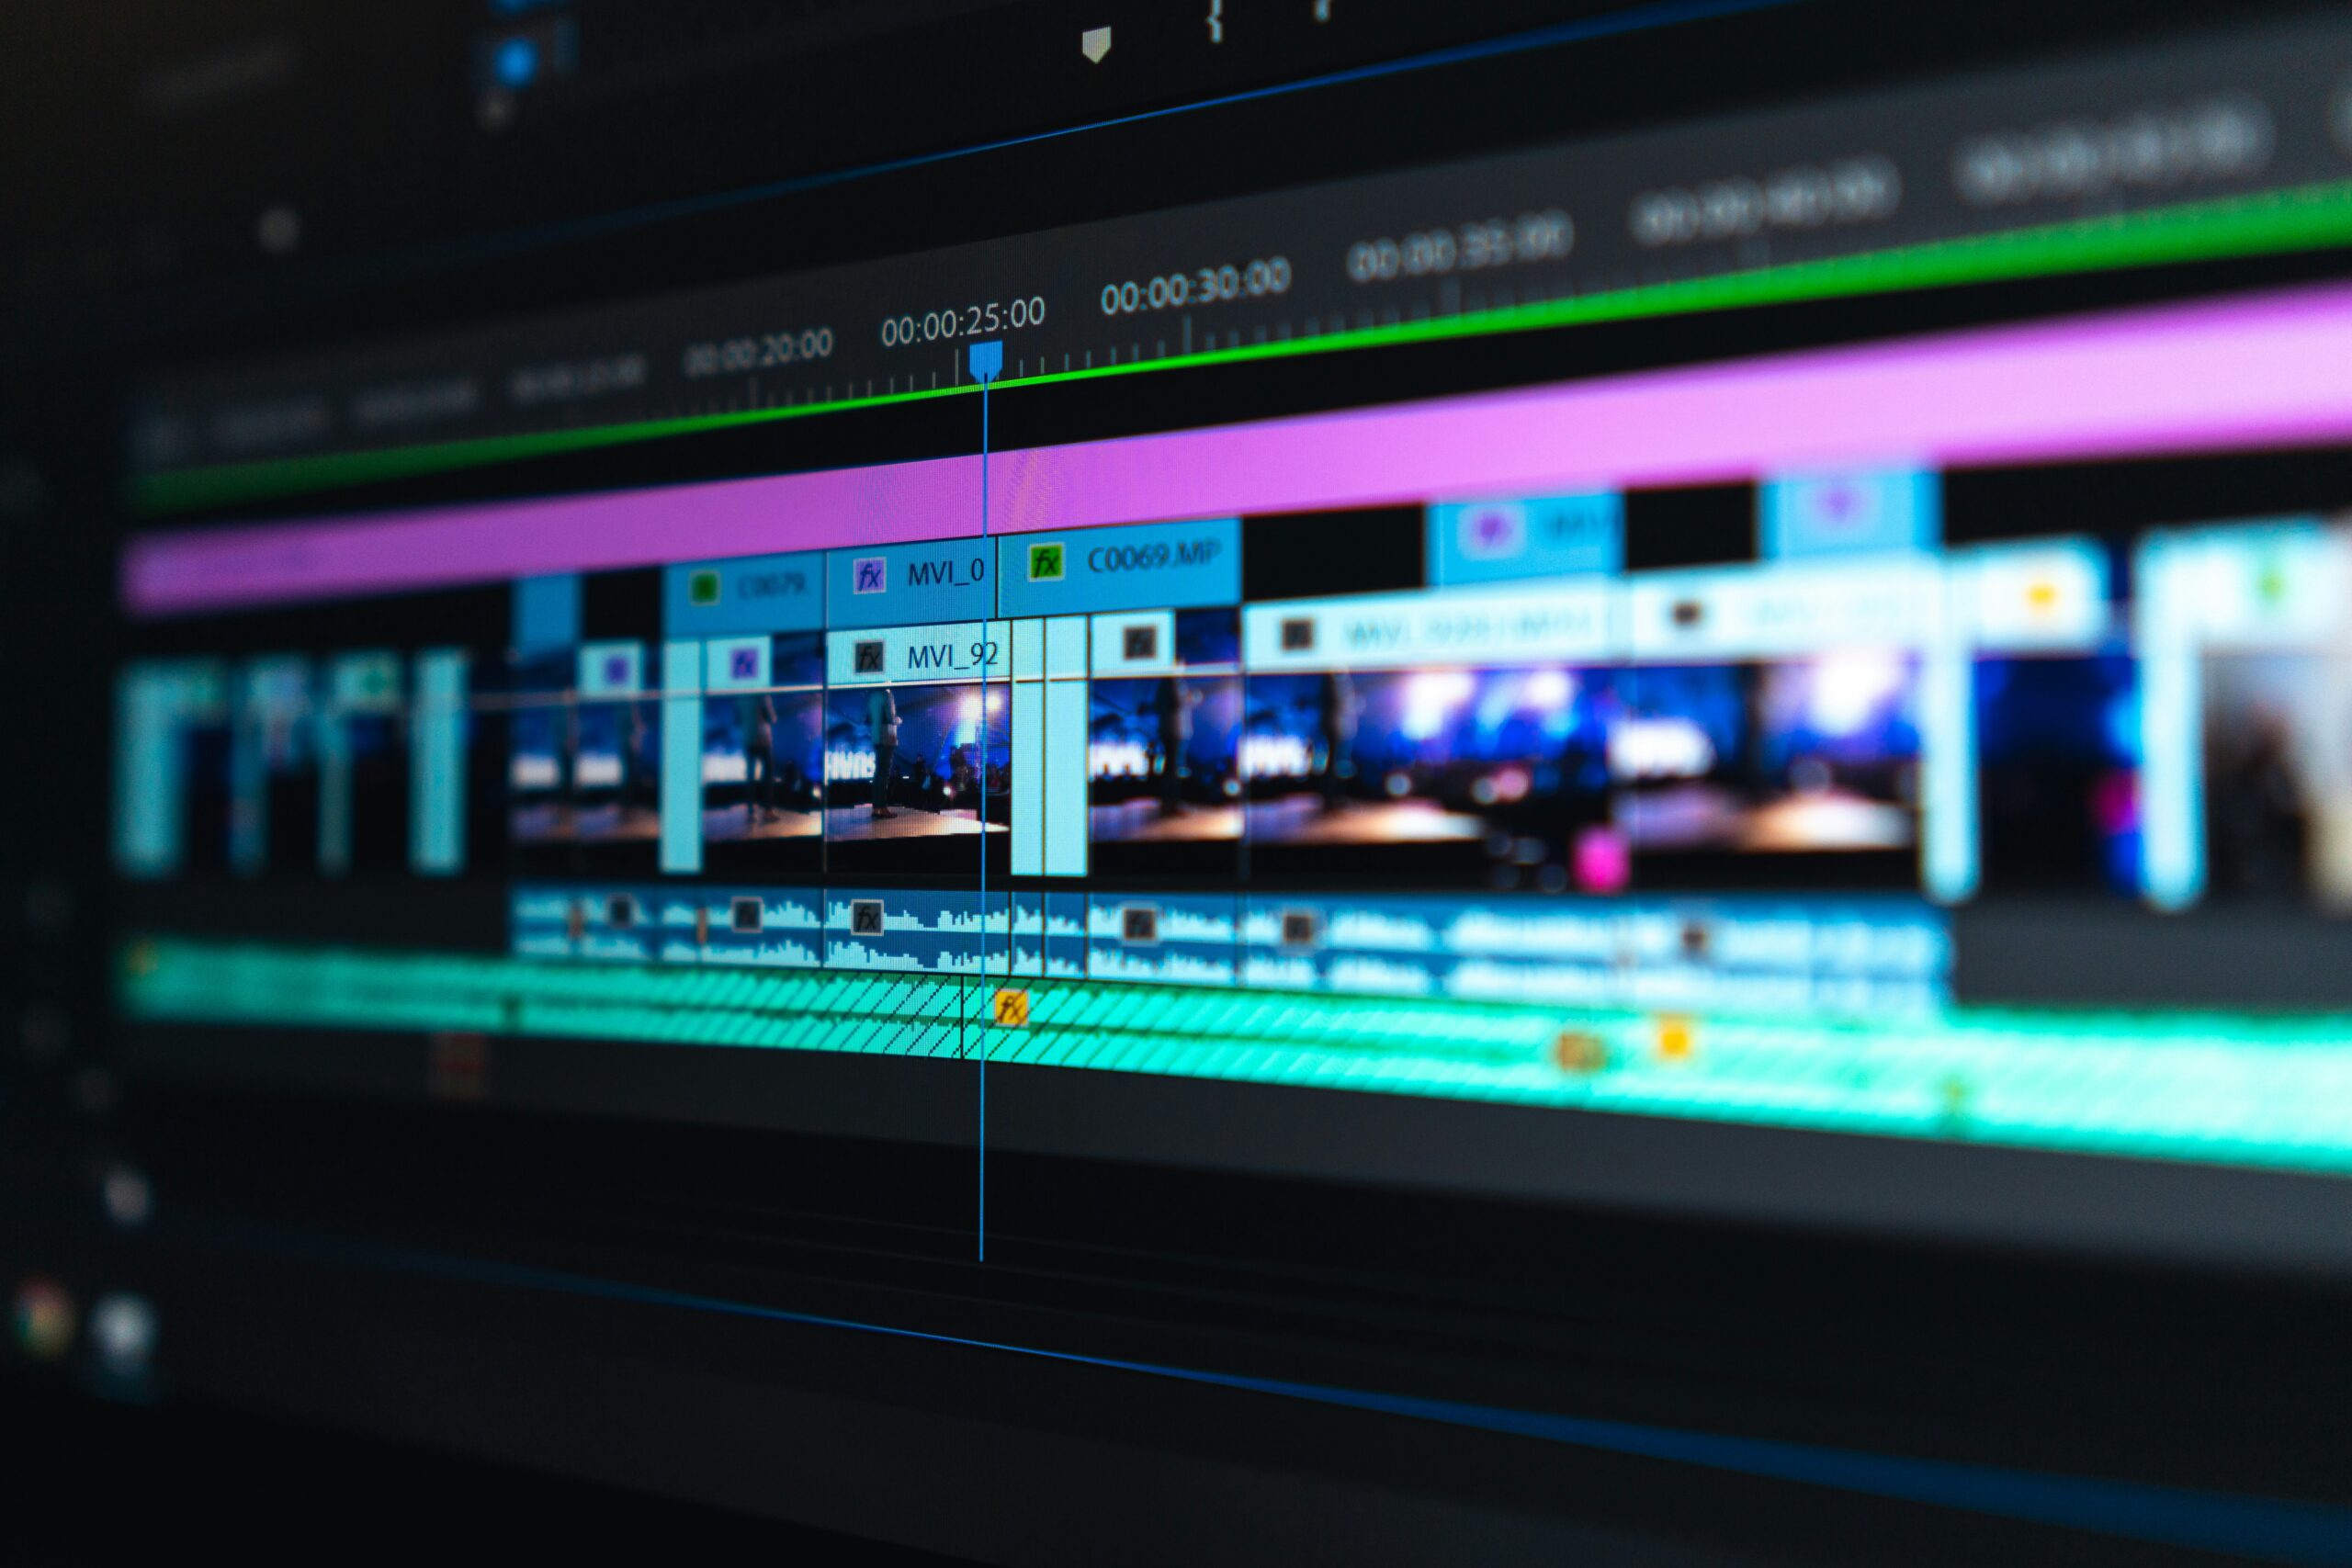
- Edit – The main timeline where you’ll arrange and refine clips.
- Fusion – Used for adding effects and motion graphics.
- Color – Professional-grade color correction tools.
- Fairlight – Audio editing and mixing.
- Deliver – Export your final video.
For now, we’ll mostly focus on the Edit tab since it’s the heart of video editing.
Step 2: Importing & Organizing Footage
Import Your Video Clips
To get started, go to the Media Pool in the top left, right-click, and select Import Media. Choose the video files you want to edit. To see the Media Pool button make sure you have the Edit button on the bottom of the page clicked.

Below Media Pool there will be a section labeled ‘Master’- right-click and select Import Medial

Organize Your Clips
Keep your files structured! Label clips properly and create bins (folders) if necessary to stay organized—this helps a lot when working on bigger projects.
Step 3: Editing Your First Video
Dragging Clips to the Timeline
Once your footage is imported, drag it onto the timeline in the Edit tab. This is where you’ll start cutting and arranging your clips.

Basic Editing Tools
- Cut Tool (Blade) – Split clips into sections.
- Trim Tool – Adjust clip lengths smoothly.
- Ripple Delete – Automatically removes gaps when deleting clips.
- Undo/Redo – Ctrl+Z (Undo) and Ctrl+Shift+Z (Redo) are your best friends!
💡 Tip: Keep your edits clean and concise—avoid unnecessary long pauses or awkward transitions.
Step 4: Enhancing Your Video
Adding Transitions
To smoothen scene changes, go to the Effects Library > Video Transitions and drag effects like Cross Dissolve or Fade to Black between clips.

This will open the ‘toolbox’ at the bottom left of your screen.

Adjusting Audio Levels
Good audio matters! Click on your audio track, adjust the volume levels in the inspector panel, and remove background noise using Fairlight’s tools.
Basic Color Correction
If your video looks too dark or washed out, click the Color tab and tweak brightness, contrast, and saturation for a polished look.

Step 5: Exporting Your Video
Choosing Export Settings
Once your edit is done, head to the Deliver tab. Choose YouTube 1080p as a preset for best results, then hit Render to export your final video.


Uploading to YouTube
Once exported, you’re ready to upload your video to YouTube! Make sure to add a compelling title, description, and tags for better search visibility.
Final Thoughts
Editing your first video can feel overwhelming, but DaVinci Resolve makes it easy—even for total beginners like us. As I’ve mentioned in previous posts, I truly believe that the best way to learn and grow is by doing. There’s no doubt we’ll make mistakes, but the most important thing is having the courage to start anyway. The more you practice, the faster and more confident you’ll become.
This is the exact process my daughter and I will be following as we edit our first YouTube video together. If you found this guide helpful, stay tuned for more beginner-friendly content creation tips! As always If you have any thoughts, ideas, questions or suggestions related to this post or any others please leave a comment or message me directly so that we can all learn and improve together!


