Your first video won’t be perfect, and it doesn’t have to be. The biggest hurdle you’ll face is simply getting started. With that in mind and the right approach, anyone can produce high-quality content that engages viewers.
Regardless of your goal, whether you’re filming for fun, launching a YouTube channel like we are, or creating beginner-friendly videos, this guide will walk you through the essentials of video production, content creation, and filming for YouTube step by step.
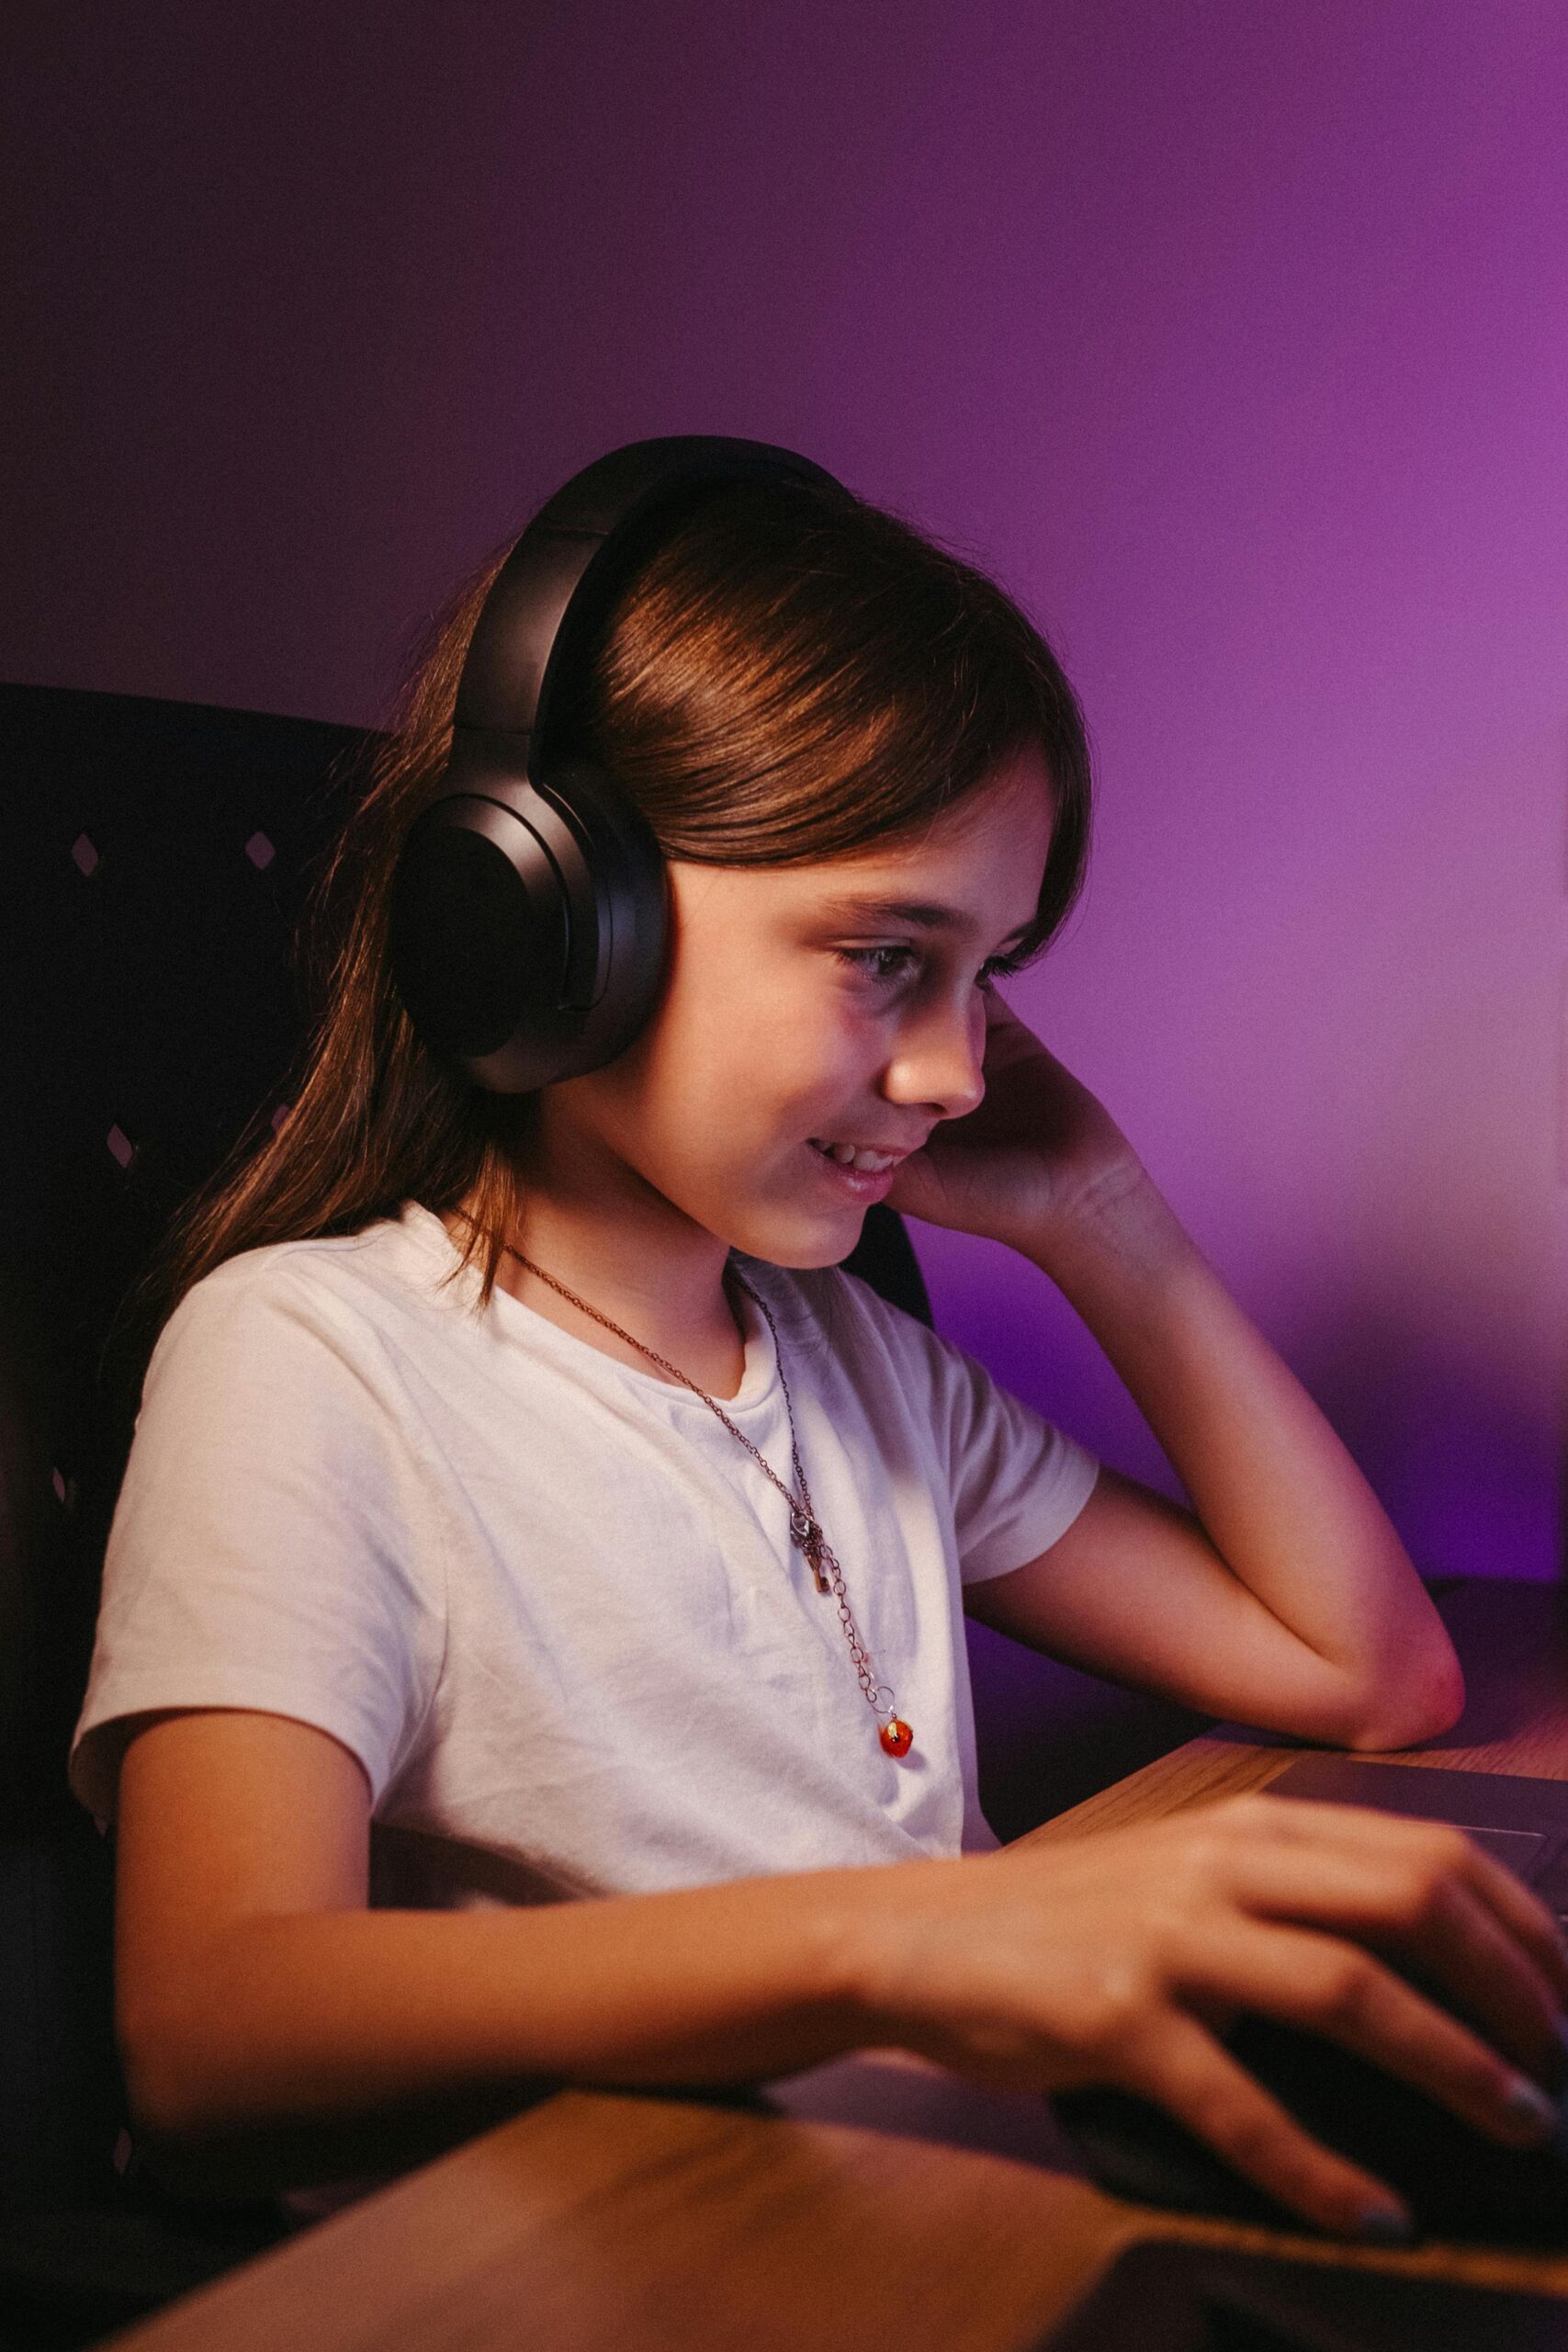
Keep in mind, this advice is based on research from various sources—not from someone with an already successful channel. My daughter and I will also be following these same steps as we create our first YouTube video. So, let’s learn together, and see how things turn out! After all, I can’t just preach without practicing.
Step 1: Planning Your YouTube Video
Before you start recording, planning is key to ensuring a smooth filming process and creating an engaging final product.
As someone who struggles with ADHD, I know firsthand that having a plan with clear goals helps prevent distractions. It allows you to focus on what’s urgent, important, and what can wait—or even be delegated.
Choose Your Video Topic
Start by selecting a YouTube video idea that aligns with your interests and audience. Some beginner-friendly video topics include:
- Product reviews
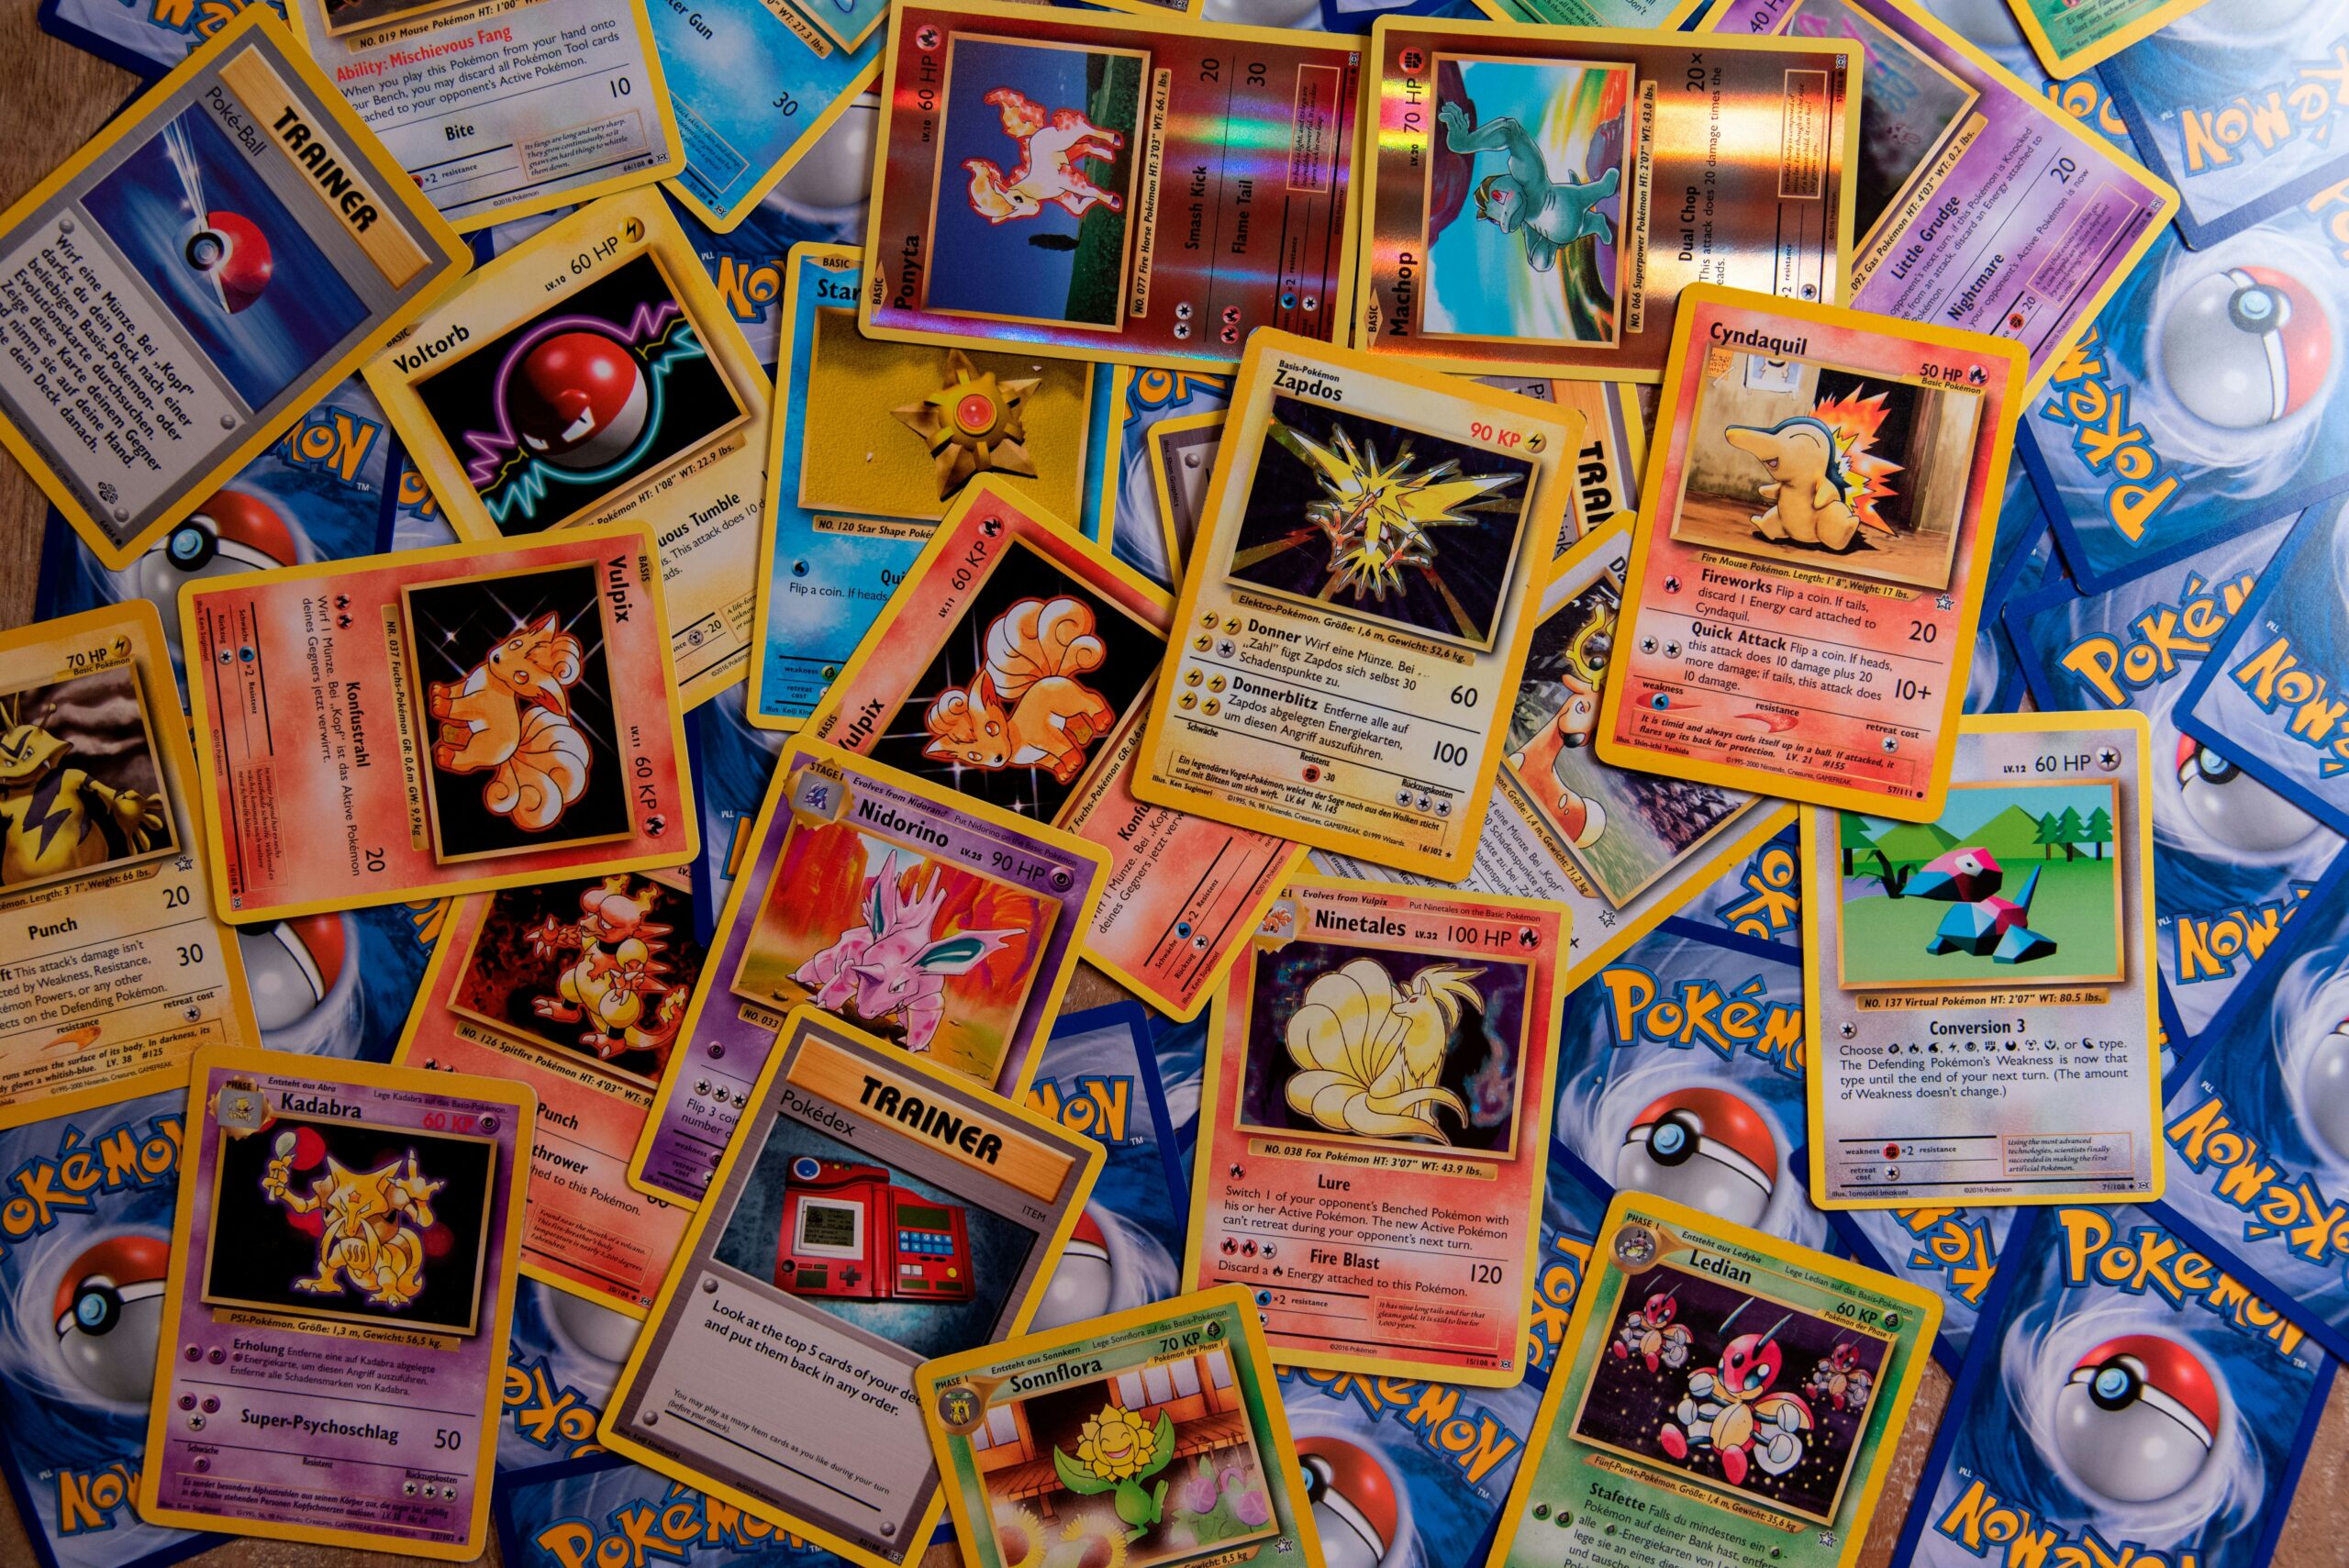
- Unboxings (such as Pokémon card openings, which will be the topic of our first video!)
- How-to videos (great for ranking in search results)
- Vlogs and behind-the-scenes content
- Q&A or challenge videos
Use YouTube keyword research tools like Google Trends, TubeBuddy, or VidIQ to find high-ranking topics related to your niche.
Write an Outline or Script
Even if you don’t want to script everything, having a clear outline keeps your video structured and your ideas on track. Consider:
- Introduction – Hook your audience within the first 5–10 seconds.
- Main Content – The “meat” of the video—what will you cover, and in what order?
- Call to Action – Encourage viewers to like, comment, and subscribe for more content.
Prepare Your Filming Setup
Your background should be clean and clutter-free to keep the focus on you. A home YouTube studio doesn’t have to be expensive—just well-lit and organized.
Step 2: Choosing the Best Equipment for YouTube Videos
You don’t need an expensive setup to create professional-looking YouTube videos. Here’s a breakdown of essential YouTube filming equipment:
Best Cameras for YouTube
- Smartphone – The best beginner-friendly option using an iPhone or Android device. Most smartphones today have excellent cameras and microphones, making this the cheapest and easiest way to get started.
- Webcam – Ideal for YouTube tutorials, gaming videos, and screen recordings.
- DSLR/Mirrorless Camera – A great investment for high-resolution videos and professional quality.
Best Microphones for YouTube
Great audio quality is just as important as video clarity. Consider these options:
- Lavalier Mic – A small clip-on mic for clear audio in vlogs and interviews.
- USB Condenser Mic – Best for voiceovers or sit-down videos.
- Shotgun Mic – Ideal for vlogging or outdoor shooting.
Best Lighting for YouTube Videos
Great lighting can make any video look more professional.
- Natural Light – The most affordable option but inconsistent.
- Ring Light – A budget-friendly way to get soft, even lighting for talking-head videos.
- Softbox Lights – Great for professional YouTube setups and eliminating shadows.
💡 Pro Tip: Use the three-point lighting setup:
✔ Key Light (main source)
✔ Fill Light (reduces shadows)
✔ Backlight (separates you from the background)

Step 3: Filming Your YouTube Video Like a Pro
Camera Settings & Framing
- Set your camera to 1080p or 4K resolution for the best quality.
- Keep the camera at eye level for a natural look.
- Use the rule of thirds to create visually appealing shots.
Recording Tips for Beginners
- Record in a quiet space and reduce echoes by adding pillows, blankets, or rugs.
- Speak clearly and confidently.
- Look at the camera to connect with viewers.
- Film in short clips instead of one long take for easier editing.
- Do a test recording to check video and audio quality before starting.
- Make sure your camera is stable—use a tripod or place it on something sturdy.
Step 4: Basic Video Editing (Quick Overview)
I’ll cover video editing in more detail in a separate post, but here’s a quick overview of what to expect:
- Trim unnecessary parts to keep the video engaging.
- Add background music or sound effects to enhance the experience.
- Use jump cuts to maintain fast-paced energy.
- Include on-screen text or graphics to highlight key points.
- Export in 1080p or higher for a professional YouTube video.
Best Free YouTube Editing Software
- CapCut (Mobile & Desktop)
- iMovie (Mac)
- DaVinci Resolve (PC/Mac)
- Adobe Premiere Rush (Cross-platform)
Step 5: Uploading & Optimizing Your YouTube Video
Once your video is ready, use these YouTube SEO strategies to help it rank higher in search results.
YouTube SEO Checklist
- Title – Use keywords naturally, e.g., How to Film a YouTube Video – Beginner’s Guide.
- Description – Write a detailed summary with searchable keywords.
- Tags & Hashtags – Include relevant terms like #YouTubeTips and #ContentCreation.
- Custom Thumbnail – Create an eye-catching image to boost click-through rates.
Promoting Your YouTube Video
- Schedule your upload during peak times for your audience.
- Share on social media to reach a wider audience.
- Engage with comments to build community interaction.
Final Thoughts
Filming a YouTube video doesn’t have to be complicated. By setting clear goals, using the right equipment, and following these simple filming techniques, you can create high-quality YouTube content that resonates with your audience.
These are skills that can only be learned by doing—so don’t be afraid to fail. Just start the process and learn as you go. Everyone starts somewhere, and where you are now is not where you’ll be in the future.
Stay tuned for my next post, where I’ll dive deeper into YouTube video editing tips for beginners. Plus, follow along as my daughter and I implement these same steps to create our first YouTube video!
📢 If you found this guide helpful, don’t forget to subscribe to my blog for more content creation insights. Also follow our journey and how we implement these same steps to create our first YouTube video as well.